Adding PHP support to Nginx.


In the last post, I show how to install and configure Nginx on CentOS. In this post, I will show you how to add PHP support to that installed Nginx web server.
There are two ways to add PHP support to Nginx: One by Using PHP-FastCGI and the other way is to use PHP-FPM. Using PHP-FPM is the simple way to add PHP support to Nginx and the way that i will demonstrate on this blog.
Enabling REMI###
First, we will need to add the REMI repository to the system. To do this we will download and install the remi-release rpm (notice that EPEL needs to be available or you will have dependency issues).
Download the remi-release rpm:
[root@webserver ~]# wget http://rpms.famillecollet.com/enterprise/remi-release-7.rpm
Install the remi-release rpm:
`[root@webserver ~]#rpm -ivh remi-release-7.rpm
We are going to install yum-utils to use yum-config-manager on the system to enable the required repositories:
[root@webserver ~]# yum install yum-utils -y
Enable the repos:
[root@webserver ~]# yum-config-manager --enable remi
[root@webserver ~]# yum-config-manager --enable remi-php56
[root@webserver ~]# yum clean all
Installation and configuration###
Now we are going to install php-fmp y php-mysql from the previously enabled repositories:
`[root@webserver ~]# yum install php-fpm php-mysql
Now we are going to edit php.ini and change cgi.fix_pathinfo=1 to cgi.fix_pathinfo=0 . This change will be done to reduce the risk of PHP processing the wrong files that could lead to a security exploit.
[root@webserver ~]# vim /etc/php.ini
On that file search and replace cgi.fix_pathinfo=1 to cgi.fix_pathinfo=0. Verify that there is not a commentary (;) on the front of the line, this will invalidate the change that you just did.
Now we are going to modify: /etc/php-fpm.d/www.conf
[root@webserver ~]# vim /etc/php-fpm.d/www.conf
We are going to change :
listen = 127.0.0.1:9000
to :
listen = /var/run/php-fpm/php-fpm.sock
Now we are going to enable and start the php-fpm service:
[root@webserver ~]# systemctl enable php-fpm.service
[root@webserver ~]#systemctl start php-fpm
Check the status of the service:
[root@webserver ~]# systemctl status php-fpm
php-fpm.service - The PHP FastCGI Process Manager
   Loaded: loaded (/usr/lib/systemd/system/php-fpm.service; enabled)
   Active: active (running) since Thu 2015-04-02 17:37:57 EDT; 24s ago
 Main PID: 11619 (php-fpm)
   Status: "Processes active: 0, idle: 5, Requests: 0, slow: 0, Traffic: 0req/sec"
   CGroup: /system.slice/php-fpm.service
           ├─11619 php-fpm: master process (/etc/php-fpm.conf)
           ├─11620 php-fpm: pool www
           ├─11621 php-fpm: pool www
           ├─11622 php-fpm: pool www
           ├─11623 php-fpm: pool www
           └─11624 php-fpm: pool www
 Apr 02 17:37:57 www.juliovillarreal.com systemd[1]: Started The PHP FastCGI Process Manager.
Configuring Nginx to process PHP pages###
At this point we have PHP installed on the server and runnig. The next step will be to add the PHP support to Nginx. In my case i will fo it to the virtual hosts entries by adding:
location ~ \.php$ {
fastcgi_pass unix:/var/run/php-fpm/php-fpm.sock;
fastcgi_index index.php;
fastcgi_param SCRIPT_FILENAME $document_root$fastcgi_script_name;
include fastcgi_params;
}
After the change, restart the Nginx service and test that you could serve .php pages.
[root@webserver ~]# sudo systemctl restart nginx.service
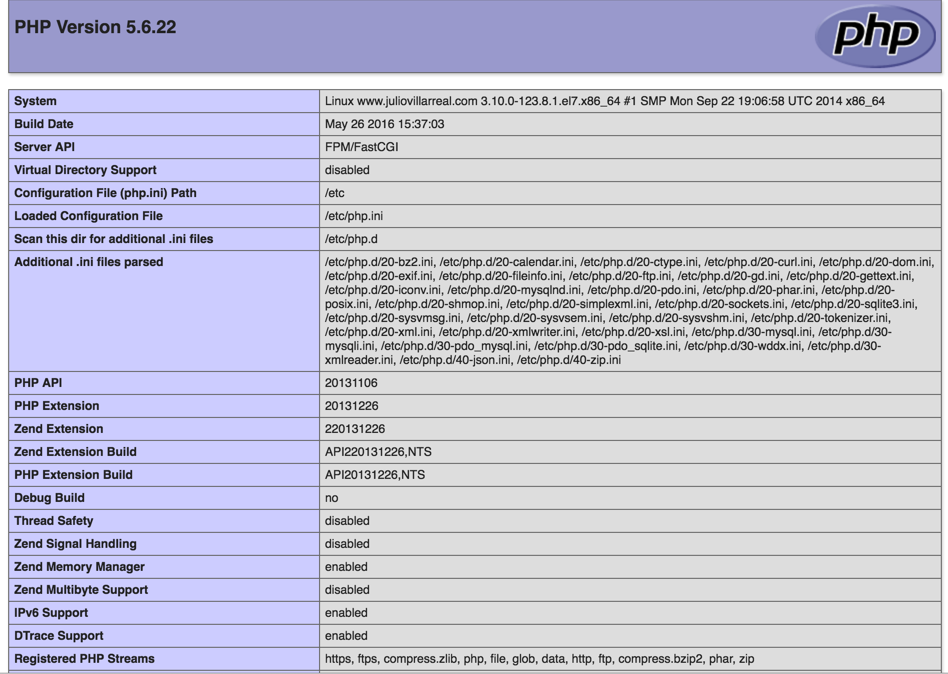
Add to your virtual host directory a file and name it info.php with the next code:
[root@webserver ~]# vim info.php
<? phpinfo(); ?>
After this, you should be able to browse to this page and see all the PHP info from your server.